 |
| Labels, Labels and More Labels |
First for the simplest of things, all of the cloth items, all I did was create iron on labels.
 |
| Different labels |
- To do this I went into Microsoft Publisher but Word or even Open Office would work.
- I "drew" a 1" by 2" rectangle.
- Edited the rectangle "fill" with a girly pattern. Added my daughters name to it. Copied the whole label and Pasted.
- I made 5 different styles of labels but of course you can make as few or as many as you'd like.
- I printed all of these labels onto a t-shirt Transfer.
- Cut the labels out, one by one.
- Ironed onto the blankets, burp cloths, bibs, pack n' play sheets, anything that was iron-able I added a label to it!
 |
| Completed Burp Cloths |
Second I tackled the Binkies and Bottles. Again, you could Sharpie these bad boys but I have a steamer that sanitizes all of her bottles and binks. That damn steamer has been known to sanitize the decorations right off all her stuff so I didn't think simply writing her name was feasible. My second thought was making a label with a label maker or printing some from the computer but again my Mean Steamer Machine will not tolerate such nonsense! I developed these name charms thinking they would be the most convenient and let's face it they are adorable!
 |
| For adhesive |
 |
| Ribbon or Yarn |
What you will need:
Scissors
T-Shirt Transfer
Scrap Fabric (any fabric, any color, you don't need much)
Iron
Ribbon or Yarn
Heat n Bond Hem
Hair Ties (I used small Goody Ouchless)
Instructions:
Step 1: Using Microsoft Publisher (but again you can use Word or Open Office) I "drew" a 1"x1.33" circle and/or a .625"x1.5" rectangle. Fill them in with fun patterns and type your child's name in. Copy and Paste them as many times as you like or create different styles, shapes, or patterns. Print the document onto a T-Shirt Transfer Paper.
Step 2: Iron the sheet of labels onto some scrap fabric. I cut my down just so it would fit onto the fabric I was using.

Step 3: Cut out each of the labels.

Step 4: Cut a strip of the Heat n Bond to match the size of the label you are using.
Step 5: Cut a piece of either the ribbon or the yarn to the length of your choice.
Step 6: Flip one label upside down, place the Heat n Bond on top of it. Loop the ribbon'yarn through the hair tie and then place the ends on the Heat n Bond. Put the second label face up on top of the ribbon/yarn and Iron for 3 to 5 seconds. (The Iron Sandwich should be: Label, Heat n Bond, Ribbon, Label).
 |
| All of the Pieces |
Step 7: Flip over and Iron again for 3 to 5 seconds.
 |
| Final Product |
Step 8: Trim up the edges.
Step 9: Put around the rim of any bottle. Then put the nipple and cap on.
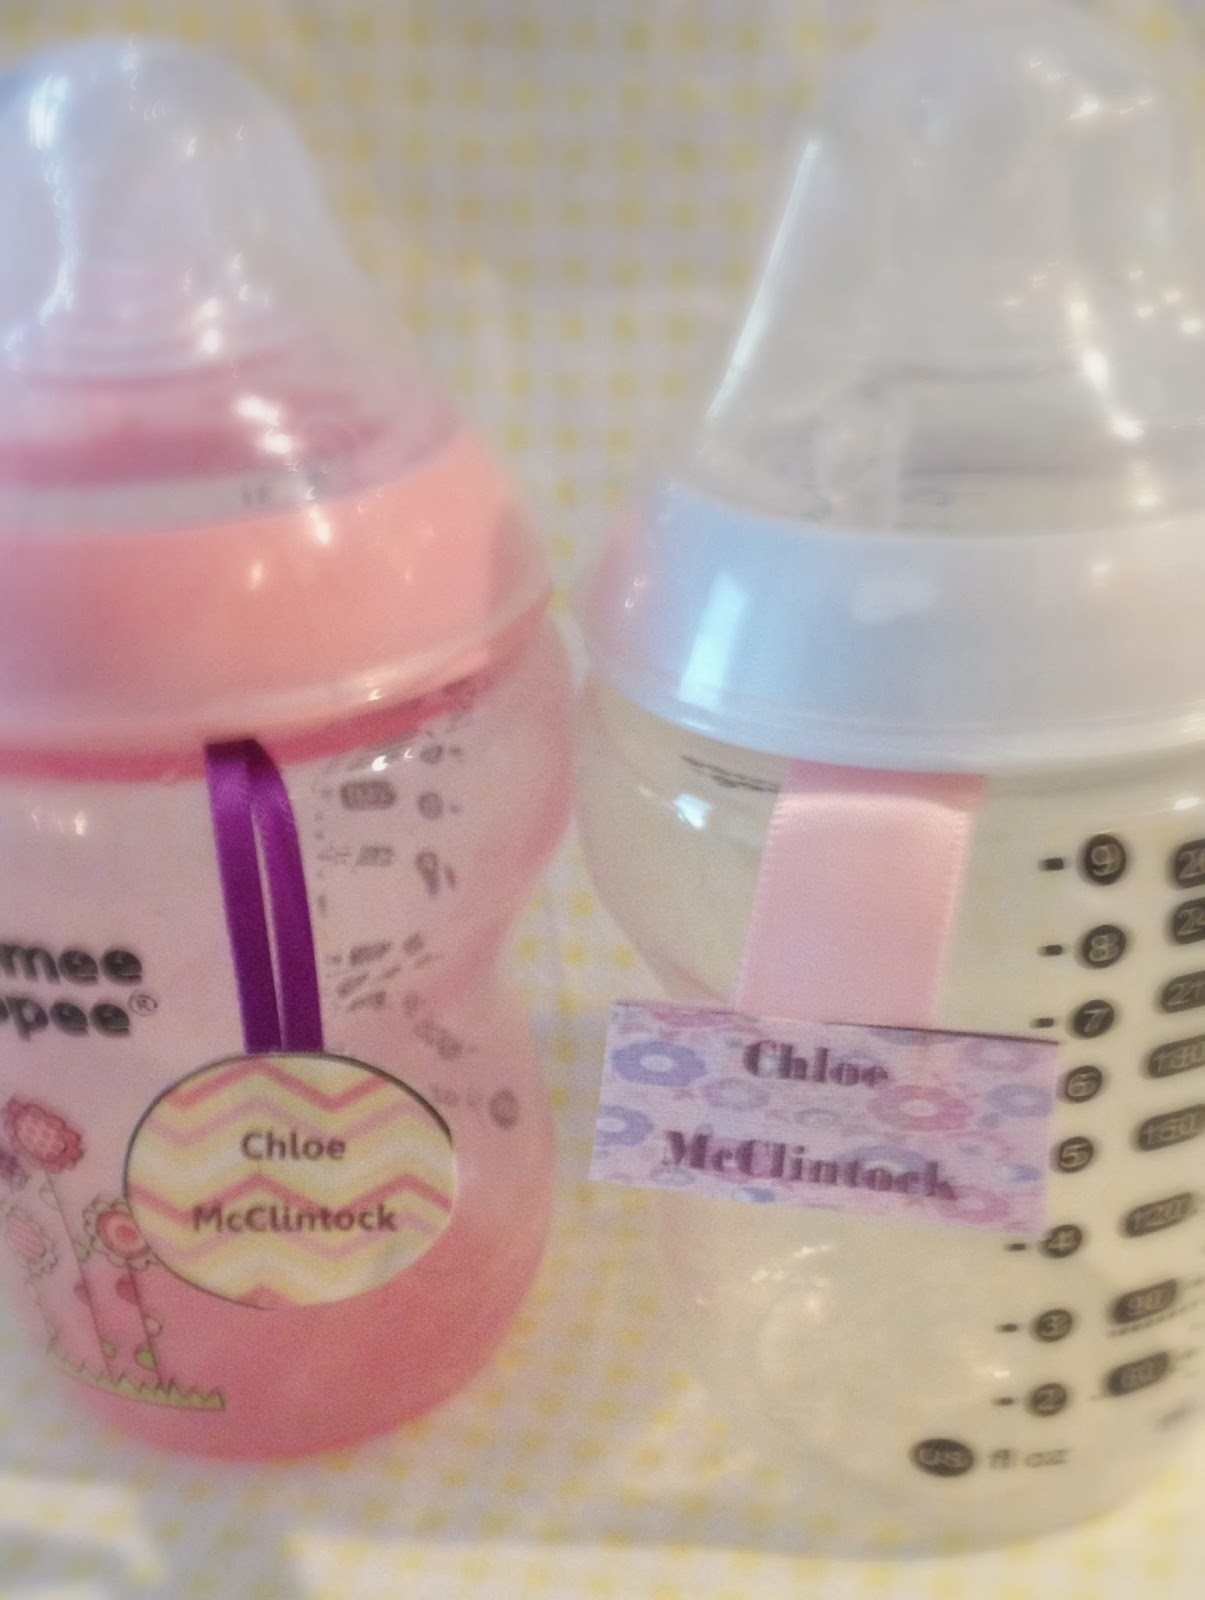 |
| Cute, Right?! |
You can also loop it through the handle of a pacifier. I also just realized you could iron the label onto a pacifier holder if you so desired.

These labels can be taken off for easy cleaning of the bottle or binky and since it's mostly fabric it can be easily cleaned if they get dirty. My main reason for wanting these other than them being easily removable is now all of her stuff doesn't have her name permanently marked on it. It can be put on for day care and easily removed for at home or out in public. If you really wanted to get into it you could create labels for the holidays, birthdays, or seasons. I sure hope you adore the name you gave your kid because after creating labels and filling out the paperwork for day care I must have written/typed her name a hundred times in a few hours.
No comments:
Post a Comment
If you don't have anything nice to say then go away